Have you ever tried to grow sprouts at home? It’s super easy, and just takes a few minutes of hands-on time. It also is a huge savings over buying sprouts in the store, not to mention a fresher option. How many times have you gone to the store to buy sprouts, only to find out that they don’t have them because of a salmonella outbreak or other scary ER trip risk? No, thanks.

Today I’m going to show you how easy it is to grow sprouts at home, while saving some serious cash money at the same time. Who doesn’t like that? No one.
In this tutorial, we’re going to focus on the most common sprouts, the great Alfalfa. But you can sprout pretty much any seed you want, and at the end of this post I’ve shared some great seed samplers so you can try out several and find your favorites. The steps for sprouting are so easy, anyone can do it.
Grow Sprouts Instructions
1) Soak 1-2 T. of sprouting seeds for at least 8 hours in fresh, cool water in a wide mouth mason jar.
2) Drain and rinse the sprouts.
3) Repeat Step 2 for 3-5 days, until your sprouts are ready to eat!

Sprouting seeds are all different sizes, but alfalfa are particularly tiny, so you need a sprouting jar lid with very small holes, like the green one above. At the end of this post I’ve linked to a jar sprouter that comes with three different lids depending on the size of seeds you are sprouting.

Do you really need to use that much water to soak 1 tablespoon of seeds, Beth?
Nope. Just make sure they’re covered by a couple of inches. Apparently I’m a water waster, good thing I don’t live in California!
Day 1 starts after the seeds have been soaked and drained. Can you believe how quickly they start to sprout? It’s like magic!

Now we’re getting somewhere. By the way, this is a GREAT project to do with kids, because they can see the growth happen so quickly. And they are much more likely to eat sprouts if they have been part of helping them grow!

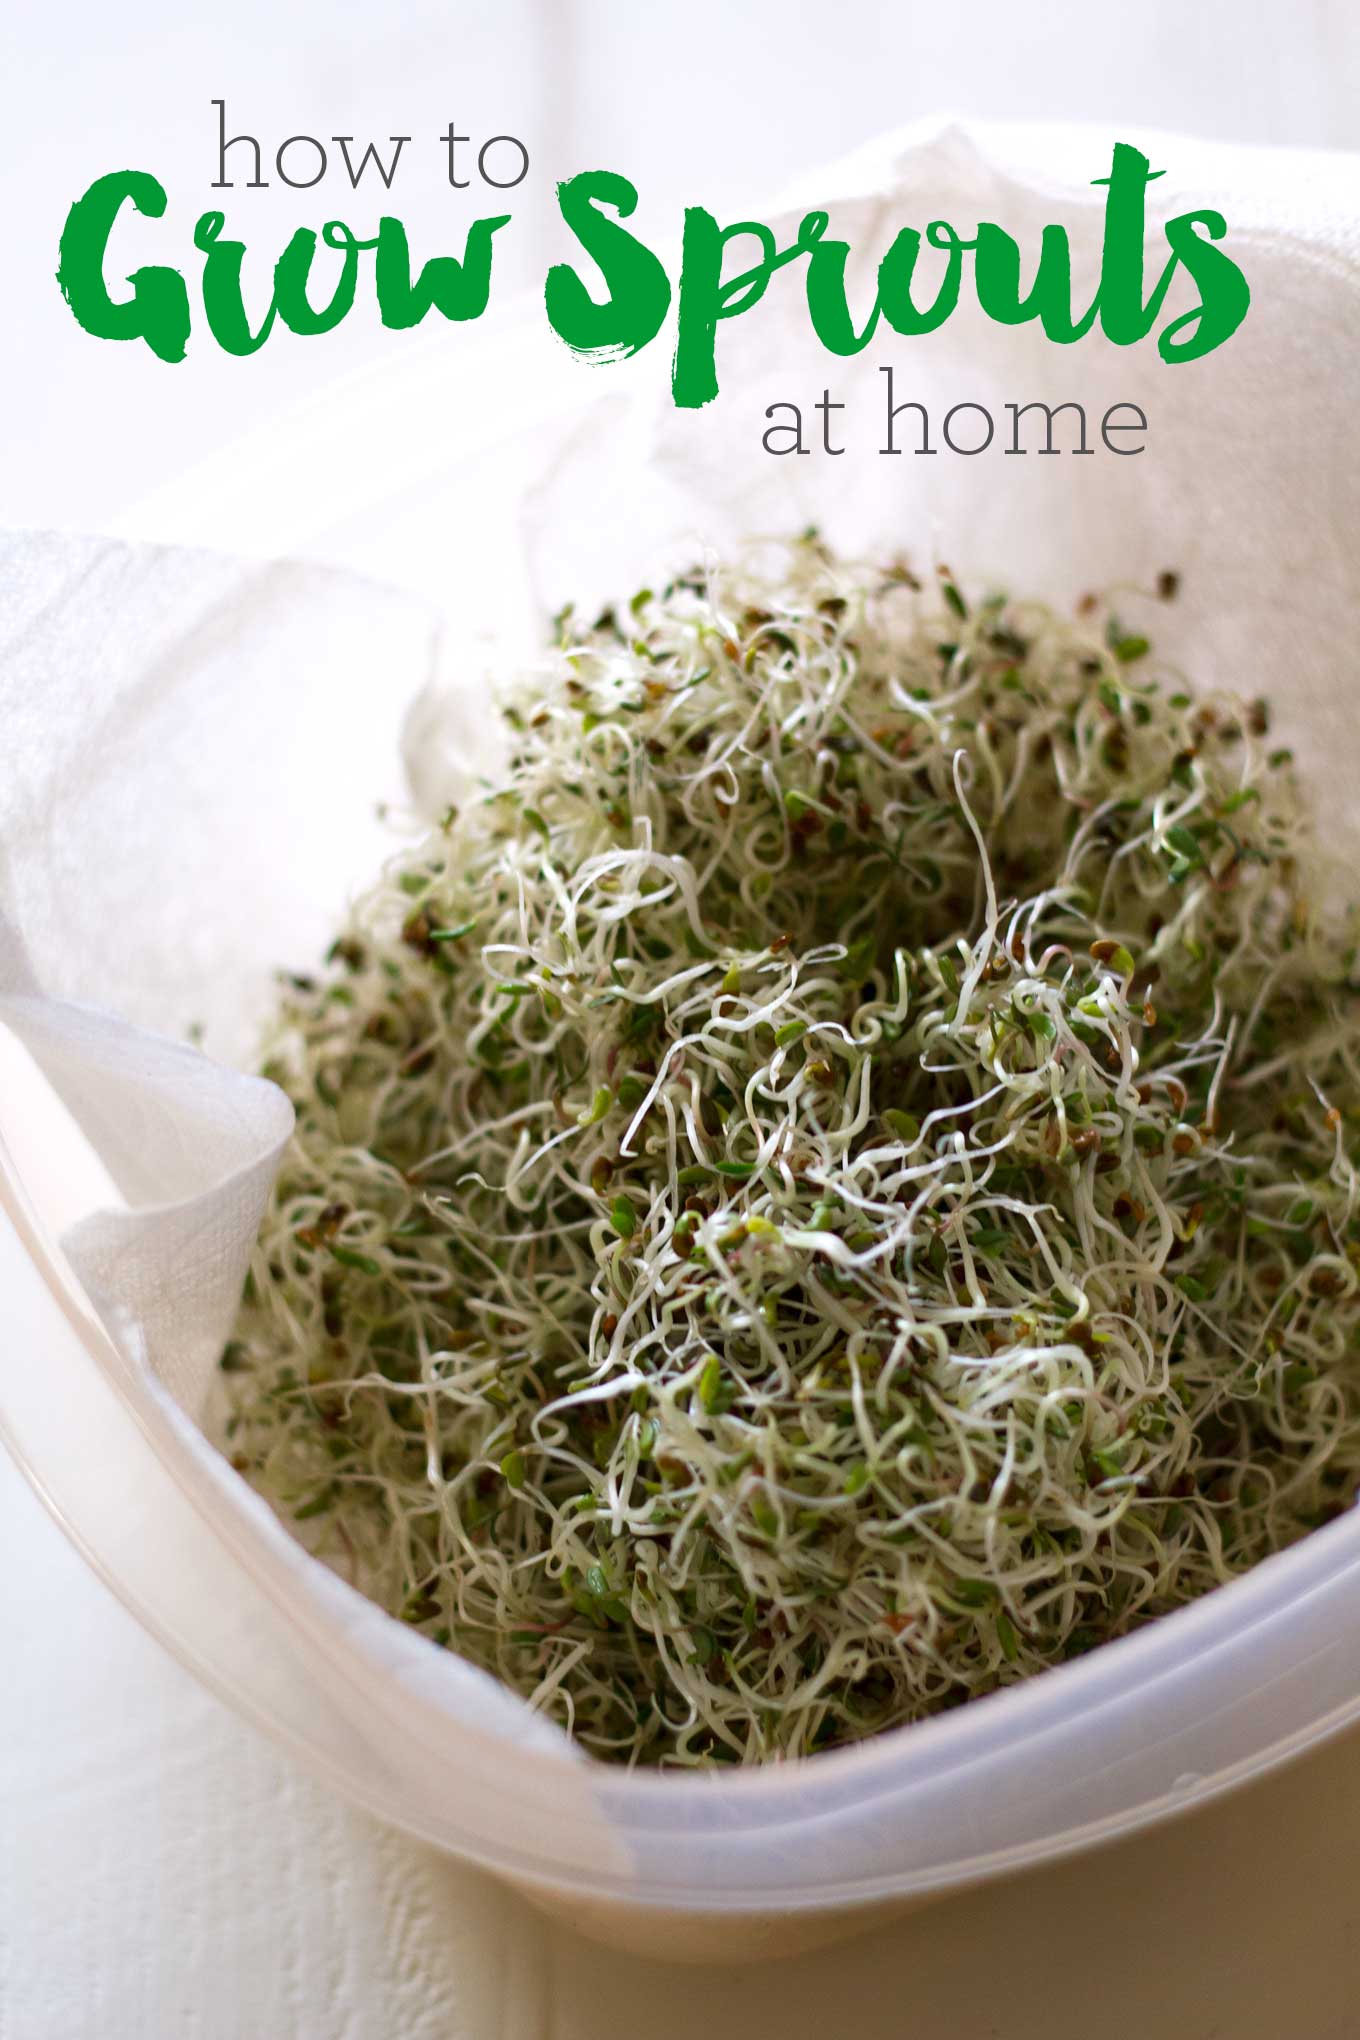
And, we’re done. The hardest part about getting to Day 5 is remembering to rinse and drain the sprouts every day. I highly recommend setting reminders on your phone. Or do what my mom does and move one of your rings to your other hand every day. Whatever works! 🙂

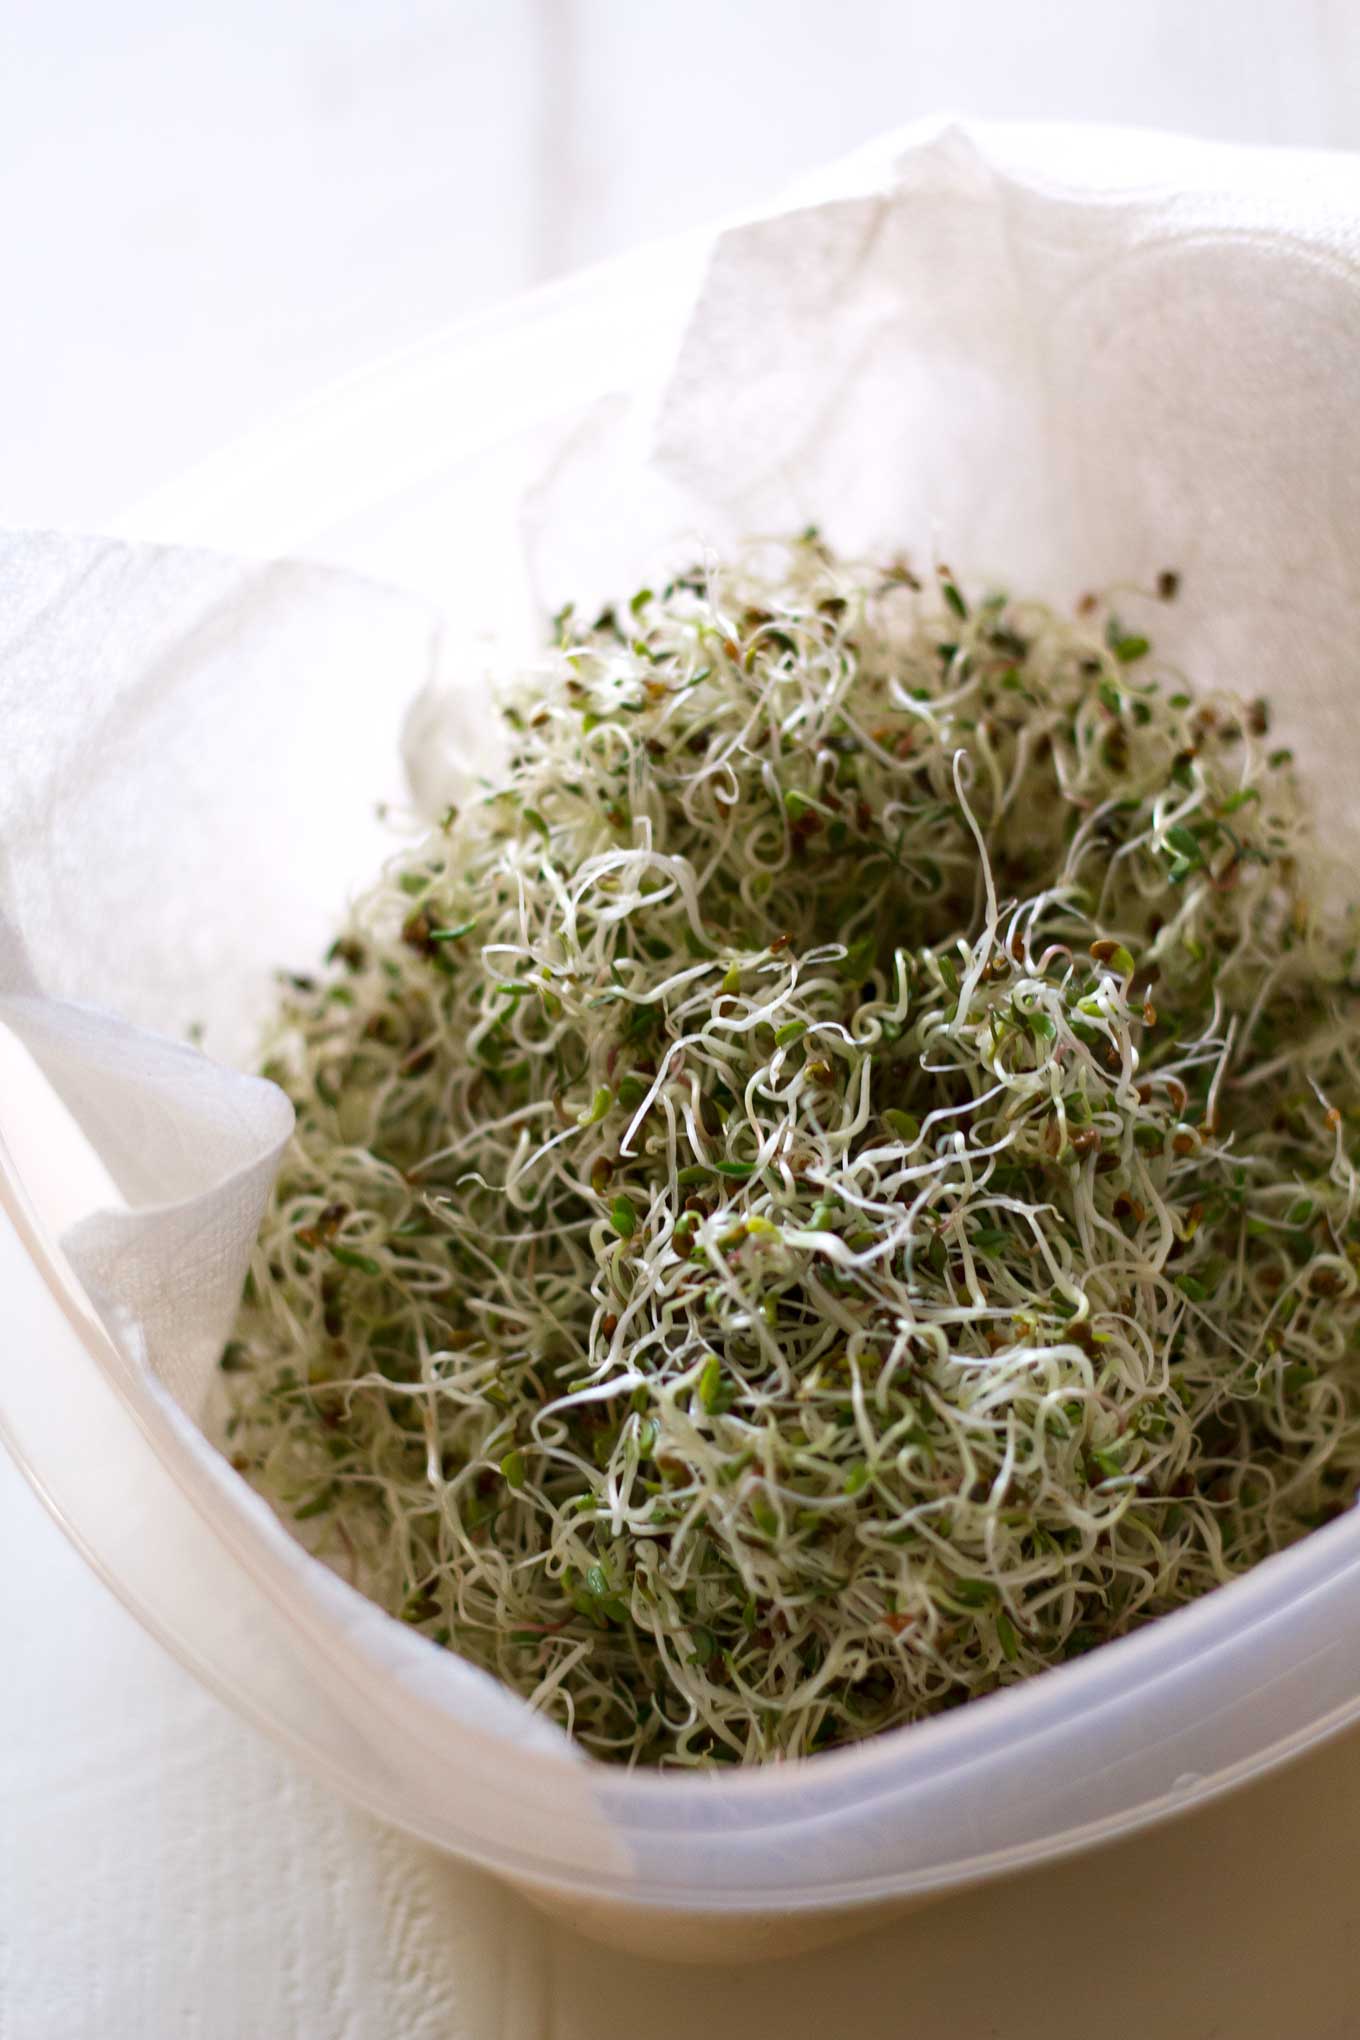
Once the sprouts are done growing, it’s time to de-hull. This process is super easy and kind of fun too. All you need to do is submerge the sprouts in some fresh cool water, then push the sprouts down with your hand and the hulls will rise to the top of the water. Pour off the water and the hulls until most of the hulls are gone (you don’t have to get all of them). It might take a couple of changes of water to get most of them. This is another thing that is fun to do with kiddos, if they are around. 🙂

To store the sprouts, drain them very well, the place them in the fridge in a lidded container lined with paper towels. They will keep for at least a week, but once you’ve tried fresh sprouts they probably won’t last that long! And once your batch is done, it’s the perfect time to start another!
So what do you think? Looks pretty easy, doesn’t it? That’s because IT IS. And it will only take a few batches to make your money back. Once you try this, you will never buy slimy, old, questionable sprouts at the grocery store ever again.
So how do you get sproutin’? Here’s everything you need!
Sprouting Supplies

Jar Sprouter
[earnist ref=”sproutingkit” id=”5243″]
[earnist ref=”sproutingseeds6pack” id=”5245″]
[earnist ref=”sproutingseeds” id=”5244″]

How to Grow Sprouts at Home
Ingredients
- 1-2 Tablespoons sprouting seeds (such as Alfalfa, Broccoli, or Radish)
- 1 Quart Wide Mouth Size Mason Jar
- 1 Sprouting Lid fitted for Wide Mouth jars (use the one with the smallest holes)
Instructions
- Cover the sprouting seeds with fresh, cool water in the mason jar and let soak for at least 8 hours or overnight.
- Drain and rinse the sprouts by pouring fresh, cool water through the holes in the sprouting lid. Drain again until most of the water is poured out.
- Repeat the rinsing and draining process at least two times per day for 3-5 days, or until the sprouts have grown to your liking.
- Remove the sprouts from the jar and immerse in a bowl filled with fresh, cool water.
- Push the sprouts down to the bottom of the bowl and let the seed hulls rise to the top.
- Pour off the hulls, and rinse again if necessary.
- Drain the sprouts thoroughly and store in the fridge in a lidded container lined with paper towel. The sprouts will keep fresh for at least a week.


I love the humor, pictures, and education that your posts provide. I would never have known this would be so easy! You inspire me.
Goulet.
Goulet indeed! Thanks, sister! 🙂
Such a great post, Beth! I’ve always wanted to grow my own sprouts.. Maybe someday! 🙂
Thanks so much, Raquel! Once you try it, you might just get hooked. 🙂
Do you worry about keeping it covered from the light?
Hi Kelly! I’m not sure if I understand your question – light is a good thing for growing sprouts! 🙂
Beth Can a person sprout barley?
been sprouting seeds for yrs. just this way.. but i always put them in the sun on day 4 or 5 to green them up..
Well, around these parts (Pacific Northwest) putting them in the sun is a relative term, because we are currently getting sun about once every 5 days, MAYBE. 😉
Hi Beth! I tried your process with chickpeas (on 3 separate occasions), and my jars grew mold just as a few had started sprouting (after 2-3 days). Have you had any experience with any seeds/nuts/grains growing mold before they have reached “ultimate” sprout length?
I use a lot of sprouted chickpeas, since they are good for making raw hummus. I had problems with them going bad at first, but not any more.
The method I use that works best for me is to soak them for 8 to 12 hours, submerged. Then after rinsing them thoroughly, I cover them again, and I put them in the refrigerator, which eliminated any of the spoiling chickpeas seem to do very quickly. They will normally sprout in a short time, like one to two days, while covered with filtered water. I change the water and rinse them only if it looks like they need it, and when they are done.
It can be good to add a few chickpeas to my sprouted legumes mix, which is lentils, green peas, mung beans, and a few azuki beans. While the chickpeas need to be sprouted separately, and in a different manner, they can be added to the mix before I eat them in a sandwich, or pita with hummus, or salad of almost any kind.
As for alfalfa sprouts, I stopped using them, since I like clover sprouts a lot better, and believe they are even more nutritious. I like to use 3 tablespoons of red clover seeds for a quart jar, since I like a lot of sprouts at lunch time. The last day or two I leave them in a bowl and colander set I got at an Asian store, which is good for rinsing away the hulls, and then getting spread out to get some sun.
This was my first time sprouting seeds and day 3 they started to grow mold. The only thing that I did different: I put the Mason jars on a rack and they were not tilted, but I made extra sure that I drained the water very well. The rack I thought was very good for air ventilation with lots of openings ( I used an dishwasher utensil basket ) Anyone else had molding problems?
I had a good crop of radish seeds sprouted and one morning when I went to rinse them, it looked like they were covered in a fuzzy mold. I dumped them and washed my sprouting container with a mild bleach solution. After reading about it online, it turns out the “mold” was actually the very fine root hairs that would have shrunk back after rinsing.
Yes., how many times I tried to make sprouts with chickpeas, every time they gone bad. Please tell me the correct way to make sprouts with chickpeas
My understanding is that you really should buy chickpeas from a spout seed selling company. Their seeds have high germination rates. If you just try to sprout any old dried chickpea, even organic, they are not high germination ones. So not all of them sprout and the ones that don’t will grow mold.
I make egg rolls . When I couldn’t find bean sprouts I made my own . For egg rolls I needed a lot so I used a salad spinner . It worked great . The spinner help get the hulls out. I used Mong beans.
What a great idea! I have a salad spinner too, and I haven’t made bean sprouts yet. I’m adding this to my to-do list! Thanks!
How do you keep knats out of your sprouts?
You can try putting a shallow bowl of apple cider vinegar (about 1/2 cup) out on the counter a few days BEFORE you start sprouts. They are attracted to the sweet fruity smell and fall in and drown. At least you will have killed a lot of them. Another idea is to drape an open weave cloth around the lid area, block the gnats without totally blocking the air flow.
If you have houseplants or a compost receptacle in your kitchen, remove them to see if that helps. I hate to admit this, but when we had gnats everywhere we looked under the charcoal lining inside our compost scrap collecter dealy, we found a zillion creepy gnat larvae (????). They might not have been gnats. Ya hafta wash those things out!!!
During the soaking and subsequent draining, are the seeds stored in the fridge?
Why wait ?
can you add vinegar to the final rinse (after seeds hav sprouted) Seems it would help them stay fresh and fungus free longer.
I can only think about what would happen if you put vinegar on a growing plant– houseplant/tomato plant/African violet –… wouldn’t that kill it? So, I would not put vinegar on these tender little sprouts. If you put them in a plastic tub with a paper towel, in the fridge, they should last at least three or four days, and you should enjoy them in that three days, while your next bstch is getting ready! If i understand this correctly (its been about 20 years since I did sprouts on the regular), once they are ready and greened up on the counter, you can put em in the fridge without further rinsing. But eat them fast for best flavor and nutrients.
Yes, this is what I do. Give them a vinegar rinse, like I do most of my produce. Works great to keep them fresh longer.
Do they need sun..? Also what about wheatgrass?
Found this on the nutritional value of various sprout types in case anyone is interested
https://sproutpeople.org/growing-sprouts/sprout-nutrition/
Getting old, forgot the link
This. Is. The. Best. Post. I have yet seen as I’ve learned to grow spouts! I’ve been away from it for a couple years and needed a refresher. LOVE your pictures and your instructions. A new fan. : )
I just bought supplies and seeds, and I’ll start sprouts tomorrow. I’ll come back to this site often! Thank you!
Love this!
I have heard of rinsing the seeds with a vinegar water solution before the sprouting cycle.
That’s a good idea, Kim! 🙂
Hi, Beth
What a great informative post!
My Favourite sprouts are a sandwich mix I buy in bulk organically from canadian company, they are awesome! Have you ever looked into the benefits of sprouted broccoli seeds? I feed my chickens sprouts, add them on top of any salad and even toss them on top of soup; such a great thing to encourage people to try and do for themselves! Very worthwhile. And your favourite sandwich looks super tasty too!
How do you drain the water out just tip the Mason jar over and the water comes out of the lid?
Yes., how many times I tried to make sprouts with chickpeas, every time they gone bad. Please tell me the correct way to make sprouts with chickpeas
Hello, Thank you very much for this article, It was ver helpful. I was inspired by it and bought a big can of alfalfa seeds to sprout. However I noticed the seeds are treated with Thiram : 50% Thiram ( tetramethylthiuramdisulfide) plus 50% inert at rate specified by the manucfacturerI don´t know what that means so I was wondreing if I can still srprout those seed and eat the sprouts?
Thanks,
So happy that I found your post. Love my sprouts. Love growing plants and food. Continued success!
Sprouting is the best!!! 🙂
I used to buy alfalfa sprouts in the store all the time but they rarely have them these days. I read that’s because the fact that hey have to be moist and out of the fridge in that state for several days allows bacteria to grow and therefore salmonella and the like. How can we stop that from happening in our own kitchens if we try to grow sprouts? Especially here in central Texas?
I hope you have a good answer I’d love to attempt to grow some.
Thanks 🙂